Tutorial · MT5 · Free Tools · 8 min read
You just downloaded RiskFlow Pro from MQL5. Maybe you are tired of opening Excel every time you want to calculate lot size. Maybe you blew a prop firm challenge last week because you forgot to move your stop to breakeven. Maybe you just want a cleaner way to trade manually.
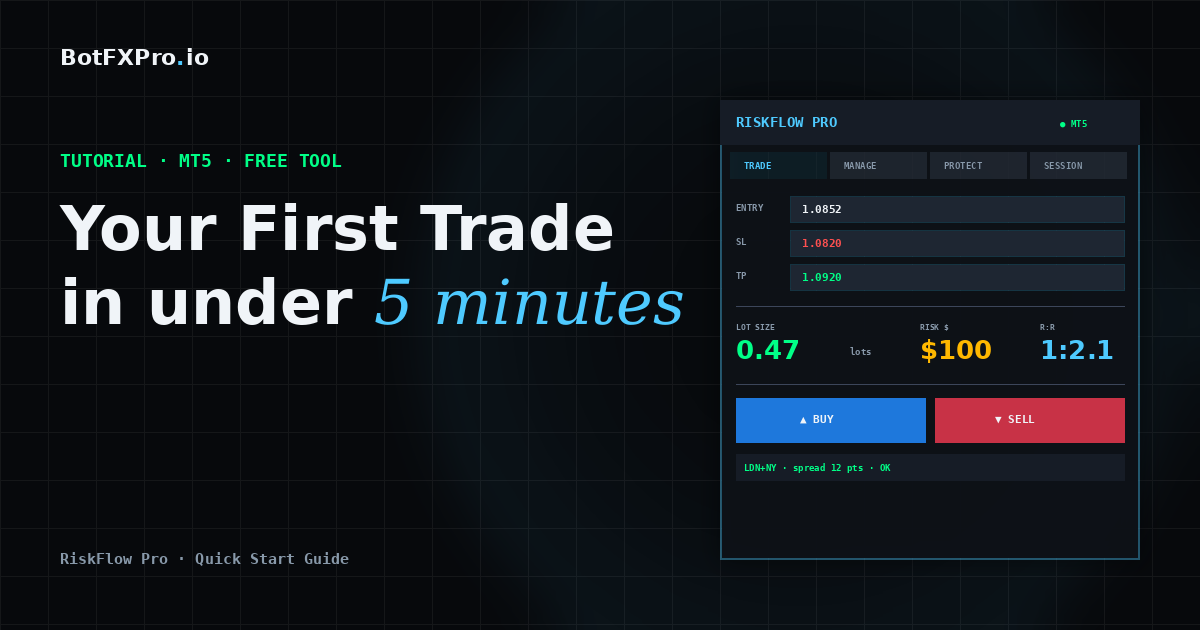
Whatever brought you here, this guide gets you from zero to your first properly-sized trade in under 5 minutes. No fluff, no backstory on why risk management matters. Let us just get the thing running.
What You Will Have By The End
A working RiskFlow Pro dashboard on your chart, your personal risk settings dialed in, and one practice trade placed correctly with a calculated lot size.
Before You Start
Make sure you have these three things ready:
- MetaTrader 5 installed and logged into a broker account. A demo account works fine for practice.
- RiskFlow Pro downloaded from the MQL5 Market. If you have not downloaded it yet, grab it at the link at the bottom of this article.
- Algo Trading enabled in MT5. Check the top toolbar — the Algo Trading button should be green, not red.
Step 1 — Attach RiskFlow Pro to a Chart
- Open any chart you want to trade on. Gold, EURUSD, US30, whatever you usually trade. The timeframe does not matter — the EA works on any timeframe.
- In the MT5 Navigator panel (left side), expand the
Expert Advisorsfolder. You will see RiskFlow Pro there. - Drag RiskFlow Pro onto your chart. A settings window will pop up.
- In that window, make sure Allow Algo Trading is checked. You do not need to check Allow modification of Signals settings — that is unrelated.
- Click OK.
You should now see a dashboard appear in the top-left corner of your chart. Six tabs across the top: Trade, Manage, Session, Protect, Settings, and Journal. The smiley face in the top-right corner of MT5 should be there too, confirming the EA is running.
Troubleshooting
If you do not see the dashboard, check that Algo Trading is actually enabled (the button in the MT5 toolbar should be green). If the dashboard shows but looks cut off, drag it to a less crowded part of your chart.
Step 2 — Set Your Risk Profile
This is the most important step. You only need to do it once, then the EA remembers.
- Click the Settings tab on the dashboard.
- You will see a Risk Type button at the top. Click it to cycle through four options:
- % Balance — Risk a percentage of your total account balance. Most common choice.
- % Equity — Risk a percentage of current equity. Useful with many open positions.
- Fixed $ — Risk a fixed dollar amount every trade.
- % Free Margin — Risk a percentage of available margin.
- In the Value field, enter your number. For example, if you chose % Balance and want to risk 1% per trade, type
1.0. - Set your R:R Ratio. This is how RiskFlow Pro auto-calculates your take profit. For example,
2.0means your take profit will be set at 2x your risk distance. Leave blank if you prefer to set TP manually.
That is it for setup. The EA now knows exactly how to size every trade you make going forward.
Step 3 — Place Your First Trade
Go back to the Trade tab. You have two ways to enter a trade — pick the one that fits your style.
Method A: The Simple Way (Market Order)
- Click the MARKET button. It turns green.
- In the SL field, type your stop loss price. For example, if gold is at 2650 and you want to stop out at 2645, type
2645.00. - Leave TP blank (RiskFlow Pro will auto-calculate from your R:R ratio) or type a specific TP price.
- Look at the Lot display. It shows the exact lot size calculated from your risk settings and SL distance. Also check Margin — green means you have enough, red means your risk setting is too high for your account.
- Click BUY or SELL. Order goes through at market price.
Method B: The Visual Way (Drag Lines)
This is where RiskFlow Pro shines. If you have ever wanted to just drag your SL and TP around on the chart and see your lot size update live, this is for you.
- Click the LINES button. It turns green.
- Three colored lines appear on your chart: blue (Entry), red dashed (Stop Loss), green dashed (Take Profit).
- Drag any line to the level you want. The dashboard updates everything in real time — lot size, R:R ratio, margin, and order type.
- When you like what you see, click BUY or SELL.
That is your first properly-sized trade. The blue, red, and green lines stay on your chart until the position closes, so you always know your levels at a glance.
Step 4 — Let the EA Manage the Trade
This is the part most traders skip, and it is also the part that separates profitable traders from the rest. Click the Manage tab.
For your first trade, turn on just one thing: Breakeven.
- Toggle the BE button to ON. It turns green.
- Set Trigger R to
1.0. This means when price moves 1x your risk distance in your favor, the EA will move your stop loss to your entry price automatically. - Set Offset pips to
2.0. This adds a small buffer so your stop sits just above (or below) entry — making breakeven actually a small profit to cover spread.
Now walk away. When the trade works out, your stop moves to breakeven automatically. When it does not, your original SL protects you.
Why This Matters
This one setting alone will change your trading. No more “I should have moved my stop” regrets after a winner turns into a loser.
Step 5 — Bonus: Turn On Prop Firm Protection
If you are running an FTMO or other prop firm challenge, this takes 30 seconds and can save your entire account.
- Click the Protect tab.
- Toggle Daily DD Limit to ON.
- Click the DD Type button and set it to FTMO Rel (or whichever method your prop firm uses).
- Set the limit value. For FTMO, enter
4.0for the 4% daily drawdown limit, or4.5if you want a small buffer.
Done. The EA now watches your equity every tick. If you ever get close to the daily drawdown limit, new trades are blocked automatically. The floor line even shows you how much you have left to lose before the limit triggers.
What to Do Next
You have the basics working. That alone already makes you faster and safer than 80% of manual traders.
If you want to go deeper — trailing stops, partial closes at multiple levels, OCO pending orders, virtual SL/TP stealth mode, and the full trade journal — the Advanced Features guide covers every tab in detail with real trading examples.
Want alerts pushed to your phone when trades hit breakeven or your daily drawdown limit triggers? The MT5 notifications setup guide walks through push and email alerts end to end.
Get RiskFlow Pro
Free for the First 500 Downloads
A professional manual trading dashboard. Position sizing, trade management, and FTMO risk protection — all in one compact panel on your chart.
Download Free on MQL5 →Works on any MT5 broker account · No registration on our site required
Found this guide useful? Leave a rating or comment on MQL5 — it helps other traders discover RiskFlow Pro, and helps me prioritize which features to add next.
Leave a Reply to RiskFlow Pro Advanced Features: Every Tab Explained with Real Trading Examples – botfxpro.io Cancel reply